Performance ⚡
renderling is a GPU-driven renderer: several features move work from your
code (and from wasted GPU work) into efficient pre-passes. None of them change
the picture - they change how much work it takes to produce it.
Frustum culling
Objects outside the camera’s view cannot be seen, so there is no reason to draw them. Frustum culling skips them in a GPU step before drawing, and is on by default:
    use renderling::{
        camera,
        context::Context,
        glam::{Vec3, Vec4},
        stage::Stage,
    };

    let ctx = Context::headless(512, 512).await;
    let stage: Stage = ctx
        .new_stage()
        .with_lighting(false)
        .with_background_color(Vec4::new(0.25, 0.25, 0.25, 1.0));

    let projection = camera::perspective(512.0, 512.0);
    let view = camera::look_at(Vec3::new(0.0, 2.5, 5.5), Vec3::ZERO, Vec3::Y);
    let _camera = stage
        .new_camera()
        .with_projection_and_view(projection, view);

    // A grid of cubes, some of which are outside the camera's view.
    let geometry = stage.new_vertices(unit_cube());
    for x in 0..7 {
        for z in 0..7 {
            stage
                .new_primitive()
                .with_vertices(&geometry)
                .with_transform(
                    stage
                        .new_transform()
                        .with_translation(Vec3::new(
                            x as f32 * 1.2 - 3.6,
                            0.0,
                            z as f32 * 1.2 - 3.6,
                        ))
                        .with_scale(Vec3::splat(0.25)),
                )
                .with_material(
                    stage
                        .new_material()
                        .with_albedo_factor(Vec4::new(0.4, 0.7, 0.9, 1.0))
                        .with_has_lighting(false),
                );
        }
    }

    // Frustum culling is on by default. Objects outside the camera's
    // view are skipped by the GPU.
    let frame = ctx.get_next_frame().unwrap();
    stage.render(&frame.view());
    let img_culled = frame.read_image().await.unwrap();
    img_culled.save("performance/culling.png").unwrap();
    frame.present();

    // Turning frustum culling off must not change the picture - the
    // same objects are visible either way, culling only skips work.
    stage.set_use_frustum_culling(false);
    let frame = ctx.get_next_frame().unwrap();
    stage.render(&frame.view());
    let img_unculled = frame.read_image().await.unwrap();
    frame.present();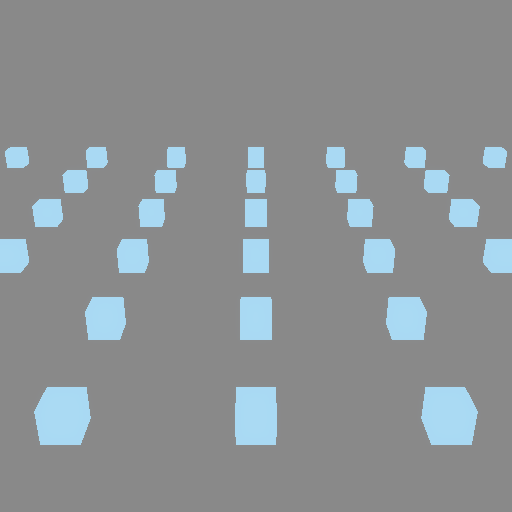
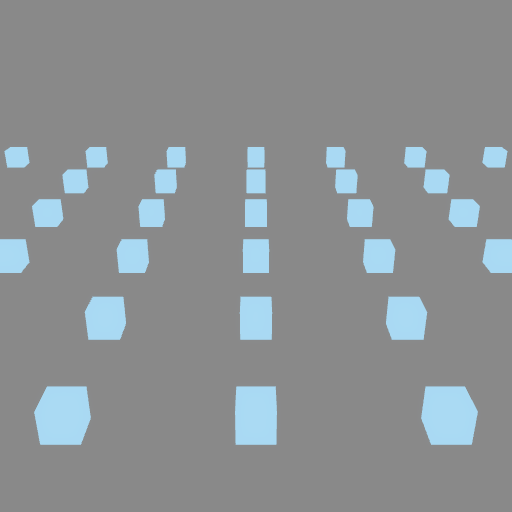
The example renders a grid of cubes with culling on and off - the two renderings are byte-for-byte identical. That is the whole point: culling skips invisible work without changing the output. Turn it off only for debugging:
stage.set_use_frustum_culling(false);Occlusion culling
Occlusion culling goes further and skips objects that are hidden behind other objects. It is off by default, and is still a feature in development:
    // Occlusion culling also skips objects hidden behind other objects.
    // It is off by default and still a feature in development.
    stage.set_use_frustum_culling(true);
    stage.set_use_occlusion_culling(true);
    let frame = ctx.get_next_frame().unwrap();
    stage.render(&frame.view());
    frame
        .read_image()
        .await
        .unwrap()
        .save("performance/occlusion.png")
        .unwrap();
    frame.present();
Light tiling
Analytical lights are how scenes get their shine, but a naive renderer makes every fragment consider every light. With a grid of point lights the cost adds up fast:
    use renderling::{
        camera,
        color::css_srgb_color_to_linear,
        context::Context,
        glam::{Vec3, Vec4},
        light::{AnalyticalLight, Candela, PointLight},
        stage::Stage,
    };

    let ctx = Context::headless(512, 512).await;
    let stage: Stage = ctx
        .new_stage()
        .with_bloom(false)
        .with_background_color(Vec4::new(0.02, 0.02, 0.02, 1.0));

    let projection = camera::perspective(512.0, 512.0);
    let view = camera::look_at(Vec3::new(4.0, 4.0, 8.0), Vec3::ZERO, Vec3::Y);
    let _camera = stage
        .new_camera()
        .with_projection_and_view(projection, view);

    // A ground plane to receive the light.
    stage
        .new_primitive()
        .with_vertices(stage.new_vertices(floor(0.0, 3.0)))
        .with_material(
            stage
                .new_material()
                .with_albedo_factor(Vec4::new(0.85, 0.85, 0.85, 1.0)),
        );

    // A grid of colorful point lights. Without light tiling the shader
    // iterates every light for every fragment.
    let mut lights: Vec<AnalyticalLight<PointLight>> = vec![];
    for i in 0..6 {
        for j in 0..6 {
            let light = stage
                .new_point_light()
                .with_position(Vec3::new(i as f32 * 1.2 - 3.0, 2.5, j as f32 * 1.2 - 3.0))
                .with_color(css_srgb_color_to_linear(
                    (60 + i * 35) as u8,
                    (60 + j * 35) as u8,
                    128,
                ))
                .with_intensity(Candela(20.0));
            lights.push(light);
        }
    }
    println!("lights: {}", lights.len());

    let frame = ctx.get_next_frame().unwrap();
    stage.render(&frame.view());
    let img_untiled = frame.read_image().await.unwrap();
    img_untiled.save("performance/no-tiling.png").unwrap();
    frame.present();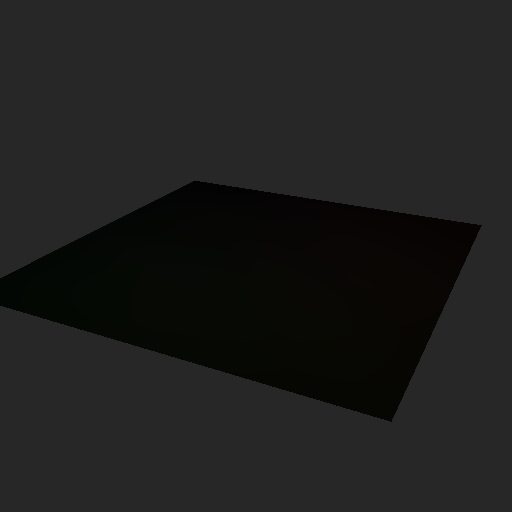
Light tiling bins lights into screen-space tiles, so each fragment only
considers the lights that overlap its tile. Create it with
Stage::new_light_tiling and run it before rendering - in an application,
every frame:
    use renderling::light::LightTilingConfig;

    // Light tiling bins lights into screen tiles so each fragment only
    // considers the lights near it. Run it before rendering - in an
    // application, every frame.
    let tiling = stage.new_light_tiling(LightTilingConfig::default());
    tiling.run(&stage);

    let frame = ctx.get_next_frame().unwrap();
    stage.render(&frame.view());
    let img_tiled = frame.read_image().await.unwrap();
    img_tiled.save("performance/tiling.png").unwrap();
    frame.present();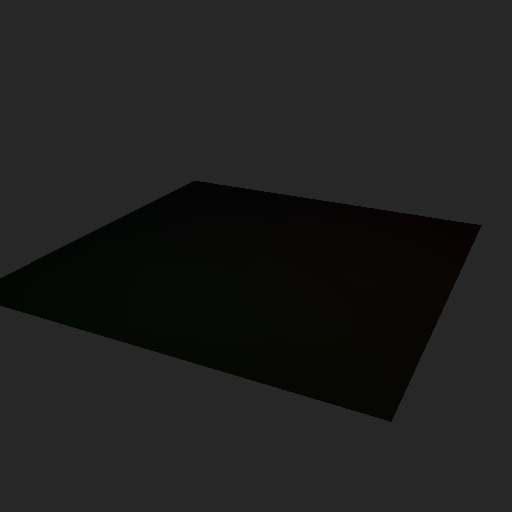
The two images above are identical - tiling is pure savings. The
LightTilingConfig has three knobs:
tile_size- the size of each screen tile, in pixels. Defaults to16.max_lights_per_tile- the maximum number of lights binned per tile. Defaults to32.minimum_illuminance- lights dimmer than this, in lux, are skipped. Defaults to0.1. (For reference: moonlight is under 1 lux, indoor lighting runs 100-300, detailed work needs 1000 or more.)
MSAA
Multisample anti-aliasing smooths the jagged edges of geometry by taking
multiple samples per pixel. Set the sample count on the stage - 4 is a good
default:
    // Multisample anti-aliasing smooths the edges of geometry. It is set
    // with a sample count - here we go from 1 (no MSAA) to 4.
    stage.set_msaa_sample_count(4);
    let frame = ctx.get_next_frame().unwrap();
    stage.render(&frame.view());
    let img_msaa = frame.read_image().await.unwrap();
    img_msaa.save("performance/msaa-4.png").unwrap();
    frame.present();