Materials and textures 🎨
Materials describe how a surface looks and how it responds to light: its base color, how metallic and rough it is, whether it glows on its own, and which textures to sample for all of the above.
We met Material briefly in the staging chapter - now let’s
give it a proper tour.
Example setup
We’ll use two cubes that share the same vertices, each with its own transform. Materials can be shared by any number of primitives, and by the end of this chapter you’ll see why that’s useful:
    use renderling::{
        camera::Camera,
        context::Context,
        glam::{Mat4, Vec3, Vec4},
        primitive::Primitive,
        stage::Stage,
    };

    let ctx = Context::headless(512, 512).await;
    let stage: Stage = ctx
        .new_stage()
        .with_background_color(Vec4::new(0.25, 0.25, 0.25, 1.0));

    let _camera: Camera = {
        let aspect = 1.0;
        let fovy = core::f32::consts::PI / 4.0;
        let znear = 0.1;
        let zfar = 100.0;
        let projection = Mat4::perspective_rh(fovy, aspect, znear, zfar);
        let eye = Vec3::new(0.0, 0.5, 4.2);
        let target = Vec3::ZERO;
        let up = Vec3::Y;
        let view = Mat4::look_at_rh(eye, target, up);

        stage
            .new_camera()
            .with_projection_and_view(projection, view)
    };

    // Two cubes sharing the same vertices, each with its own transform.
    let geometry = stage.new_vertices(uv_unit_cube());
    let offset = 0.9;
    let left: Primitive = stage
        .new_primitive()
        .with_vertices(&geometry)
        .with_transform(
            stage
                .new_transform()
                .with_translation(Vec3::new(-offset, 0.0, 0.0)),
        );
    let right: Primitive = stage
        .new_primitive()
        .with_vertices(&geometry)
        .with_transform(
            stage
                .new_transform()
                .with_translation(Vec3::new(offset, 0.0, 0.0)),
        );
The albedo factor
The simplest material parameter is the “albedo factor” - the base color of the surface. Here we create an unlit material (lighting turned off on the material itself) with a teal albedo factor, and assign it to both cubes:
    use renderling::color::css_srgb_color_to_linear;

    // Create an unlit material with a teal albedo factor.
    let material = stage
        .new_material()
        .with_albedo_factor(css_srgb_color_to_linear(0, 128, 128))
        .with_has_lighting(false);

    // Both primitives share the same material.
    left.set_material(&material);
    right.set_material(&material);

    let frame = ctx.get_next_frame().unwrap();
    stage.render(&frame.view());
    let img_teal = frame.read_image().await.unwrap();
    img_teal.save("material/albedo-factor.png").unwrap();
    frame.present();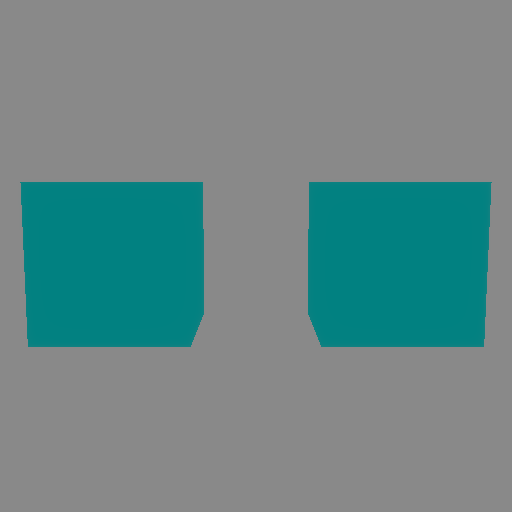
Note that one material instance covers both cubes. Materials are staged
resources - assigning the same Material to many primitives costs nothing
extra, and any later change to the material updates every primitive using it.
Textures and the atlas
Flat colors only get you so far. To use image textures, first stage them in
the stage’s texture atlas with Stage::set_images, which takes
AtlasImages and returns one AtlasTexture handle per image:
    use renderling::atlas::AtlasImage;

    // Load two images and stage them in the stage's texture atlas.
    //
    // `set_images` returns one `AtlasTexture` handle per image. Note that
    // calling it again repacks the atlas and invalidates any previous
    // handles, so stage all the images you need up front.
    let sandstone = AtlasImage::from_path(workspace_dir().join("img/sandstone.png")).unwrap();
    let dirt = AtlasImage::from_path(workspace_dir().join("img/dirt.jpg")).unwrap();
    let entries = stage.set_images([sandstone, dirt]).unwrap();
Two things to know about set_images:
- It resets the atlas, repacking it with just the images given. Any
AtlasTexturehandles from a previous call are invalidated. - Because of that, stage all the images you’ll need up front, in one call.
Using a texture
With handles in hand, we can set the albedo texture of our material:
    // The albedo factor multiplies the albedo texture, so reset it to
    // white and use the first image as the albedo texture.
    material
        .set_albedo_factor(Vec4::ONE)
        .set_albedo_texture(&entries[0]);

    let frame = ctx.get_next_frame().unwrap();
    stage.render(&frame.view());
    let img_sandstone = frame.read_image().await.unwrap();
    img_sandstone.save("material/albedo-texture.png").unwrap();
    frame.present();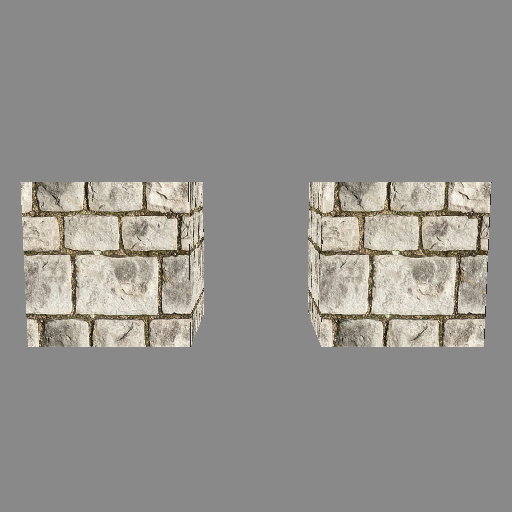
The albedo factor multiplies the albedo texture, which is why we reset it to white first. Multiplying by a non-white factor is a cheap way to tint a texture.
Updating materials at runtime
Materials are staged, so updates are cheap and automatic. One call to
Material::set_albedo_texture switches both cubes to the second image:
    // Updating a material at runtime is just as easy. Here we switch the
    // albedo texture of both cubes to the second image with a single call.
    material.set_albedo_texture(&entries[1]);

    let frame = ctx.get_next_frame().unwrap();
    stage.render(&frame.view());
    let img_dirt = frame.read_image().await.unwrap();
    img_dirt.save("material/albedo-updated.png").unwrap();
    frame.present();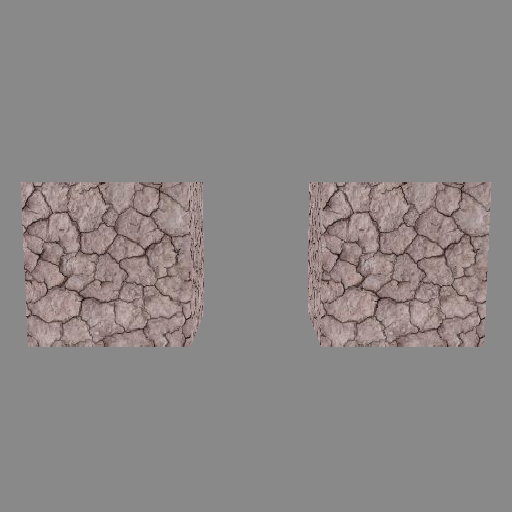
PBR parameters
So far our material has been unlit. With lighting on, materials become “physically based” (PBR), with a few more knobs:
metallic_factor- how metal-like the surface is. Metals tint their reflections with the albedo color.roughness_factor- how rough the surface is. Rough surfaces blur reflections.
For this demo we’ll also give the scene a skybox, image-based lighting and a sun, so the metallic surface has an environment to reflect. Those are covered in the skybox and lighting chapters:
    use renderling::light::{AnalyticalLight, DirectionalLight, Lux};

    // Turn on lighting and give the scene an environment so the material
    // has something to reflect. (See the skybox and image-based lighting
    // chapters.)
    let skybox = stage
        .new_skybox_from_path(workspace_dir().join("img/hdr/helipad.hdr"))
        .unwrap();
    stage.use_skybox(&skybox);
    let ibl = stage.new_ibl(&skybox);
    stage.use_ibl(&ibl);

    let _sun: AnalyticalLight<DirectionalLight> = stage
        .new_directional_light()
        .with_direction(Vec3::new(-0.4, -1.0, -0.5).normalize())
        .with_color(Vec4::ONE)
        .with_intensity(Lux::OUTDOOR_OVERCAST_HIGH);

    // Give the material PBR parameters: make our sandstone cubes metallic
    // with low roughness, like polished gold.
    material
        .set_has_lighting(true)
        .set_albedo_texture(&entries[0])
        .set_metallic_factor(1.0)
        .set_roughness_factor(0.2);

    let frame = ctx.get_next_frame().unwrap();
    stage.render(&frame.view());
    let img_pbr = frame.read_image().await.unwrap();
    img_pbr.save("material/pbr.png").unwrap();
    frame.present();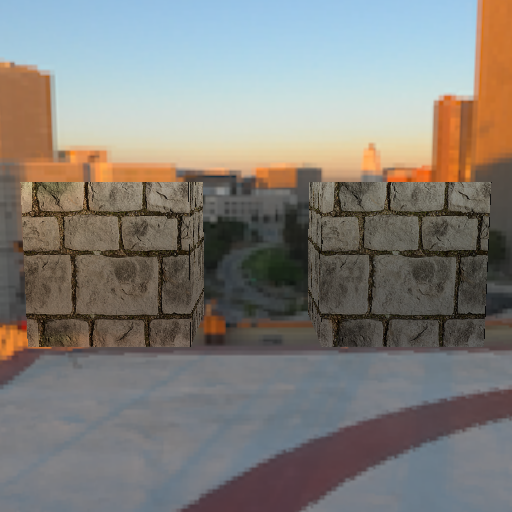
Crank the roughness up and the reflections smear into a matte surface:
    // Increasing the roughness blurs the reflections, making the surface
    // appear matte.
    material.set_roughness_factor(1.0);

    let frame = ctx.get_next_frame().unwrap();
    stage.render(&frame.view());
    let img_rough = frame.read_image().await.unwrap();
    img_rough.save("material/pbr-rough.png").unwrap();
    frame.present();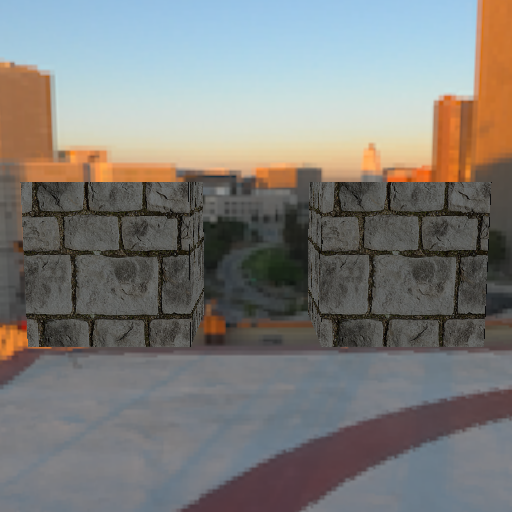
Emissive color
Emissive color is added directly to the final color, regardless of lighting, and takes an optional strength multiplier. Combined with bloom, emissive materials glow:
    // Emissive color is added directly to the final color, regardless of
    // lighting. Combined with bloom it makes objects glow.
    material
        .set_emissive_factor(Vec3::new(1.0, 0.25, 0.1))
        .set_emissive_strength_multiplier(2.0);

    let frame = ctx.get_next_frame().unwrap();
    stage.render(&frame.view());
    let img_emissive = frame.read_image().await.unwrap();
    img_emissive.save("material/emissive.png").unwrap();
    frame.present();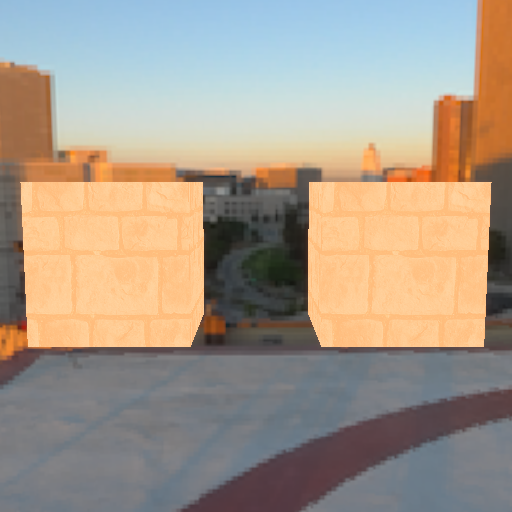
Normal maps
Normal maps fake small-scale surface detail by perturbing the surface normal per-pixel, which changes how light interacts with the surface without adding any geometry.
GLTF files can carry normal maps, and the loader wires them into the material for you. This brick sphere has lighting and a normal map baked in:
    use renderling::{context::Context, glam::Vec4, stage::Stage};

    // GLTF files can carry textures of their own, including normal maps.
    // This brick sphere has lighting and a normal map baked in, and the
    // loader wires them into the stage and material for us.
    let ctx = Context::headless(800, 450).await;
    let stage: Stage = ctx
        .new_stage()
        .with_lighting(true)
        .with_background_color(Vec4::new(0.01, 0.01, 0.01, 1.0));

    let _doc = stage
        .load_gltf_document_from_path(workspace_dir().join("gltf/normal_mapping_brick_sphere.glb"))
        .unwrap();

    let frame = ctx.get_next_frame().unwrap();
    stage.render(&frame.view());
    let img = frame.read_image().await.unwrap();
    img.save("material/normal-map.png").unwrap();
    frame.present();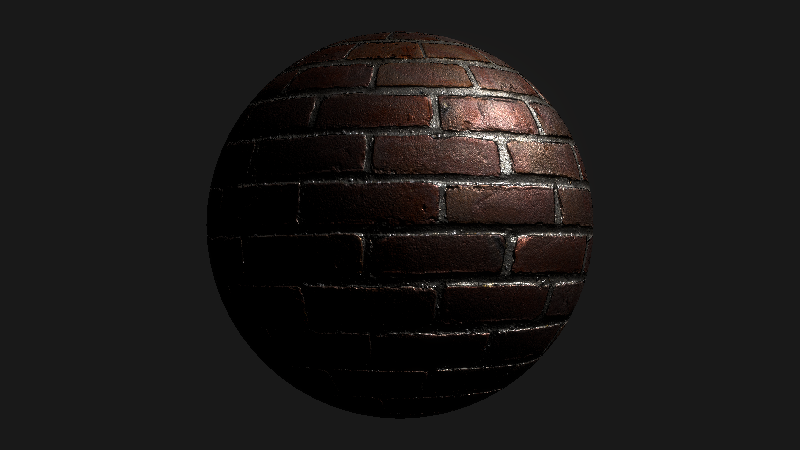
When building materials by hand, the same slots exist as builders:
Material::with_normal_texture,
Material::with_metallic_roughness_texture,
Material::with_ambient_occlusion_texture and
Material::with_emissive_texture, along with their set_* counterparts.
Each texture slot can also pick which UV set of the vertex to sample with
(with_albedo_tex_coord and friends) when a mesh carries more than one.